Table of Links
II. Background and Related Work
A. Learning to Program: SCRATCH and Pair Programming
B. Gender in Programming Education and Pair Programming
III. Course Design
A. Introducing Young Learners to Pair Programming
B. Implementation of Pair Programming
IV. Method
A. Pre-Study and B. Data Collection
C. Dataset and D. Data Analysis
V. Results
VI. Conclusions and Future Work, Acknowledgments, and References
C. Course Schedule
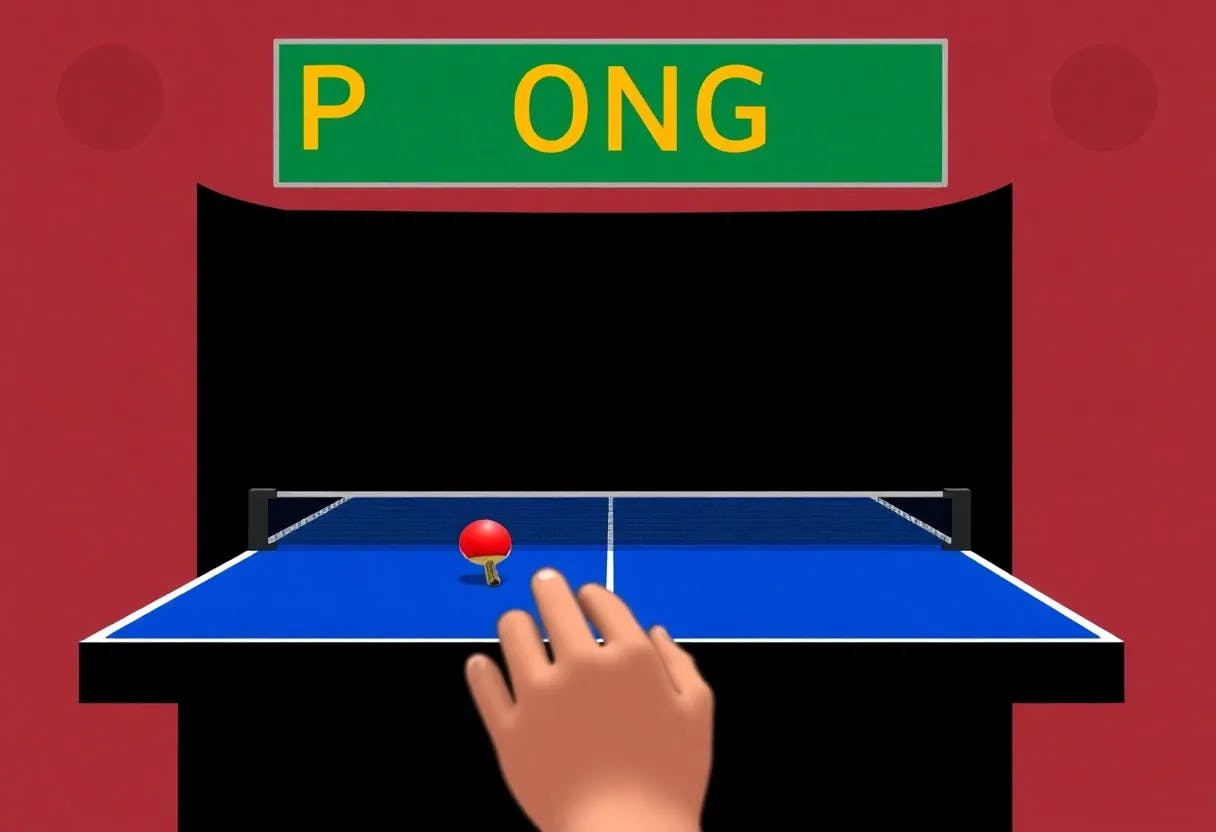
The aim of the course is the implementation of the well-known game Pong (Fig. 2), which is also introduced as one of the official tutorials on the website of SCRATCH[2]. We selected a game as project type to ensure that all students apply the same basic programming concepts, since girls tend to prefer
projects types with sequential flow and thus, applying less complex structures [44]. The course is explicitly designed as an in-class activity, hence, the basic programming concepts shall be introduced and recalled within a manageable time in the curriculum [45]. Thus, the course lasts about 1.5 hours and consists of six tasks in order to have an even number of tasks for each pair. We also ensure that there are two creative tasks at the end of the course so that both students in a pair get a chance to realize their ideas, thus balancing individual preferences and collaborative work [26]. Furthermore, the difficulty of the tasks increases gradually to ensure that each individual task has a similar scope and that the complexity of the tasks could be reduced in time if necessary. The order and selection of programming concepts is based on the principle that sequences represent the simplest structures, followed by loops and conditional statements [46].
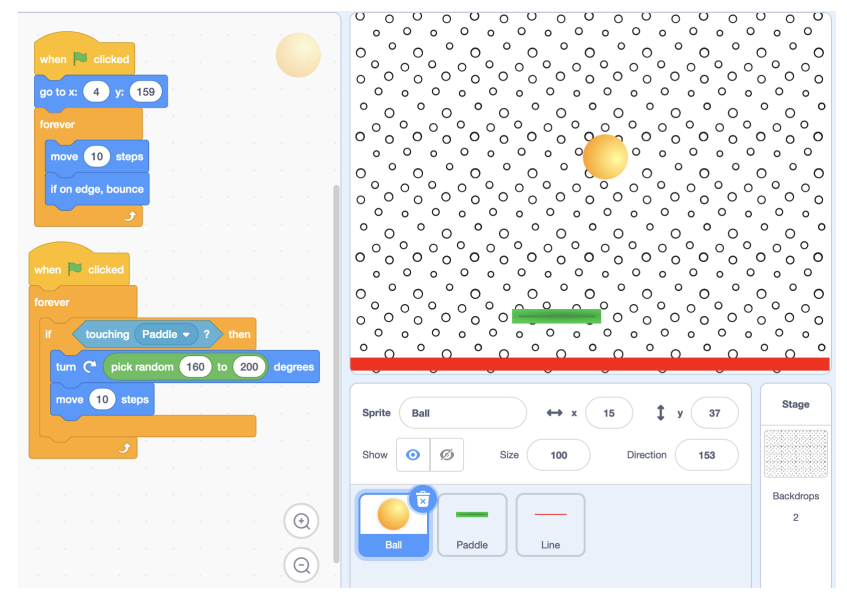
1) Task 1: Basic Instructions: The first task starts with deleting the default sprite, and encouraging the students to select an individual stage and sprite. To maximize creative freedom and to reduce gender stereotypes, we select a neutral stage (dots) and a neutral shooting object (ball) in our sample [47]. After each pair has chosen a stage and sprite, the interface of SCRATCH and the function of the green flag is explained by using an analogy from the student’s lifeworld: code in SCRATCH needs a trigger, just like videos on Youtube need a play button [48]. Then, we ask the students which of the blocks of the motion-category might be useful for moving our sprite. As a result, sequences are created by adding move-blocks to the green flag event handler, and students try out how the ball moves some steps to the right.
2) Task 2: Loops: The programming concept loops (forever, repeat-times) is introduced by motivating that we do not want to repeatedly press the green flag, nor do we want to concatenate many motion blocks. The students should discover the forever-block by browsing through the categories. By trying it out on their own, they should notice that the ball moves to the right edge and stops. By discussing how to change this, ideally students will come up with the idea that the ball should bounce off the wall, for which they can find a pre-defined block in the motion-category in SCRATCH. This also familiarizes them further with the interface.
3) Task 3: Conditional Statements: In order to balance programming and being creative [26], [46], we first have the students pick a new sprite, which they should control with the mouse. Once again, we select a gender-neutral sprite in our sample (paddle) [47]. The player moves the newly selected sprite so that the ball does not touch the bottom. Since the sprite is supposed to follow the mouse only on the abscissa, we briefly explain the coordinate system. We introduce the new block category sensing, where the mouse is set to the x-position. To make sure that the sprite follows the mouse continuously, we need a forever-block: the students should first find a solution within their pairs and then discuss this in plenary, thus supporting recall of the concept of loops [45].
At this stage of the game, the ball passes through the paddle instead of interacting with it, and thus, the usefulness of the next major programming concept, conditions (if, if-else), is illustrated. To reduce the complexity of the principle, we use analogies from the students’ lifeworld by brainstorming with them, e.g., if it is raining we need an umbrella. We give the hint that conditional blocks are elements of the control of SCRATCH and let the pairs find the correct block on their own. As soon as every pair has found the correct block, we develop the pseudo code of our program in the plenary, i.e., which condition we need and what should happen then. Afterwards the students try it out themselves in pairs.
4) Task 4: Practicing Loops & Conditionals: In order to make the game more exciting and complex, we change the angle of incidence and reflection of the ball when it bounces off the paddle. We introduce operators for this purpose, and the students are asked to experiment with different angles. To ensure that the ball always starts at the same point, a go to-block should be added before the loop in the ball. This concludes the basic functionality of the game. Before continuing with recalling the learned programming concepts, we encourage the students to pick a third sprite, place it on the bottom, and on contact with the ball the game is over. We demonstrate this using the gender-neutral option of the line. Similar to the code of the ball interacting with the paddle, this sprite requires code including loops and conditions. To enable more in-depth recall [45], we encourage the students to write the code for the line themselves, and discuss the solution together afterwards.
5) Task 5 & 6: Free Task 1 & 2: From this point on, we let the students work on their own, and mainly support them in implementing their own ideas. The driver of each task gets to choose what they implement, and the next task is switched, so that both students are able to implement their own ideas in the creative task [26]. Before they start, a few ideas for extensions are briefly collected in the plenary such as experimenting with costumes, stages, colors, speed of objects, levels, etc. We show the students the remaining block categories looks, sound and variables and try to inspire them by stating different extensions
such as creating multiple sprites, having a multiplayer mode, introducing levels and scores as well as winning or losing screens. We again encourage the students to be creative [26], [47]. The course session closes with the students showing their created projects to the other students.
Authors:
(1) Isabella Graßl, University of Passau, Passau, Germany ([email protected]);
(2) Gordon Fraser, University of Passau, Passau, Germany ([email protected]).
This paper is
[2] https://scratch.mit.edu/projects/editor/?tutorial=all